You know how some people just have that naturally glowing, radiant skin? The kind that looks like Mother Earth just took her perma-airbrush to their faces? Yeah, I totally don’t have that kind of skin.
I have what’s called “combination skin,” meaning I have the skin of a greasy 15 year-old in some spots and the dry, flaky skin of a rattlesnake in other spots. Lucky, lucky me. As much as I would love a couple trips to the spa every couple weeks for some facials, with a baby on the way and a husband finishing up grad. school, that’s just not in the budget at the moment. So I have taken matters into my own hands and have been experimenting with some do at home facials.
Mission #1 was to get the breakout problem a bit more under control. So, the first diy facial I tried was a simple citrus and baking soda facial. I used baking soda because I know it is basic, and can help balance out the pH of the skin as well as help control blackheads.
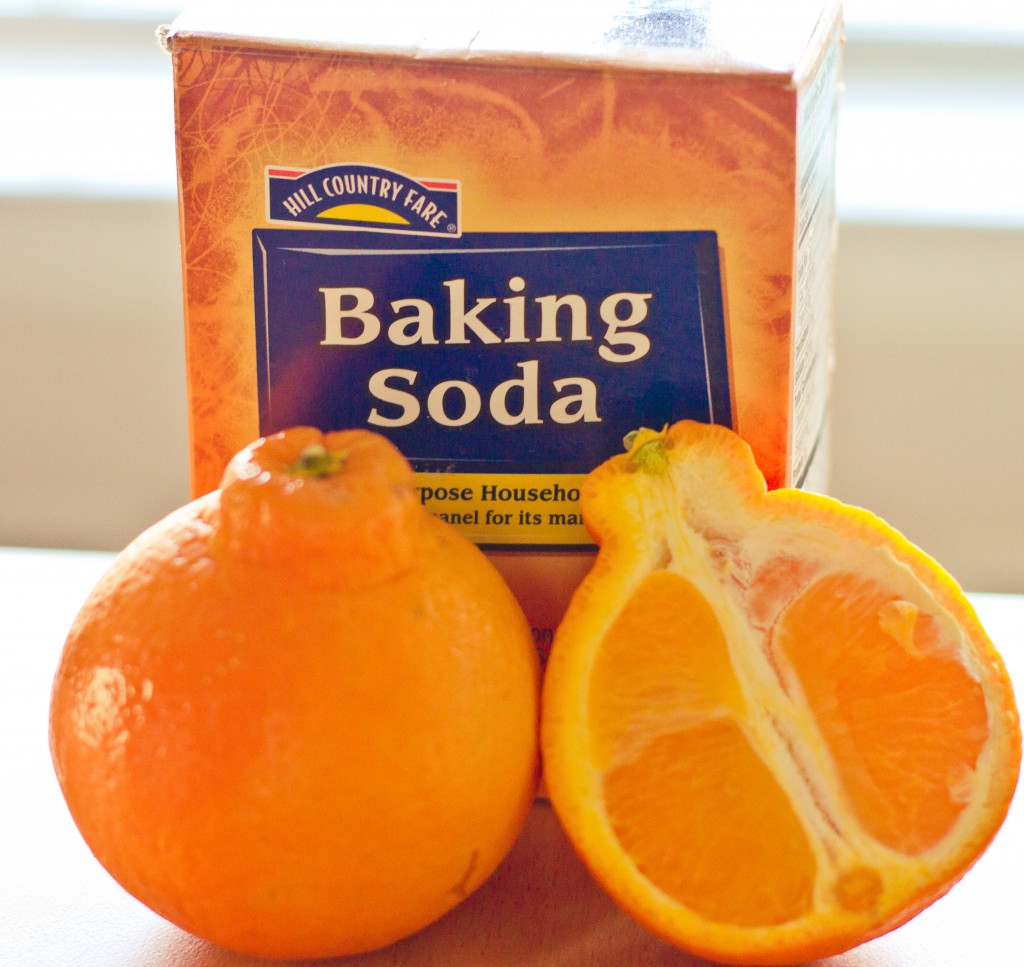
The last time I went to the grocery store, I bought some Texas oranges that were way, way too sour. Like actually caused physical discomfort, sour! I figured that if I couldn’t eat them, I might as well put them on my face and hope that the vitamin C helps brighten my skin while the acid shrinks the pimples!
I cut the small orange in half and squeezed out the juice into a small container. Then I dumped some baking soda in the container as well to form a paste. Unfortunately, I didn’t bother with exact measurements. (In retrospect, I am thinking it’s about a 1:1 ratio and I probably did 2 tbsp of each.) The key is to end up with a mixture that can sit on your face and not drip, so if you need to add a little more baking soda- do!
Once I had a nice paste ready, I began applying it to my face using two fingers and gently rubbing in a circular motion, allowing the baking soda to exfoliate my skin. Then I waited 20 minutes before washing it off. I was nervous that this particular homemade facial might really irritate my dry skin. Although there was a little tingling, I didn’t notice much discomfort.
After I washed it off, I noticed a few things right away. First, my skin did look brighter. Second, the blackheads were reduced (not quite poof, gone but smaller). Third, and not so desirable, I noticed that the red areas on my skin were even redder. This didn’t surprise me, but I was glad I did it at night and not in the morning when I’d have to be out and about.
The next day, I noticed that the pimple on my chin was almost gone. Granted, it had been there for a while so it might just have been its time to go, but there were a couple other pimples that were threatening to surface that went down as well. The redness also decreased, thankfully.
The verdict: enough pros that I will probably do this particular diy facial once a week.
Although I often edit skin in photos, I think it’s a great idea to invest a little time before your session to get your skin looking as naturally radiant as possible. You’ll feel more confident, people won’t be shocked when they compare the skin in your photos to the real thing, and it will cut down on my editing time (a selfish plug, I know). If you think this could be a good facial for you, give it a try! Just don’t do it the night/day before the session… just in case your skin doesn’t take too kindly to it!

Ingredients for a citrus/baking soda facial:
1-2 Tbsp of orange or other citrus juice (the pure stuff, not the sugary stuff)
1-2 Tbsp baking powder


