I love a little haze in the right photo. It gives the image a nice, dreamy feel to it. There are a handful of ways to create a hazy effect in your photos. One way is to shoot with the sun behind your subject and your lens angled toward the light. Another is to use Photo Shop to add a little haze. Finally you can… (drum roll please) hold something up to your lens while shooting your subject. Here’s how you do it:
1. Find an object to use. For the photo below, I used a clear, round plastic… thing (I’m not sure what it is!). It sort of looks like a Christmas tree ornament. Have fun with this part! Try a few things. Look for things that are mostly clear and transparent. If it has a tint to it, that could be fun.
2. Select a low f-stop. The goal is to make the object nice and blurry. If your f-stop is too high, you might be able to see the edges of the object. Then you’ll end up with a photo that has a random object sticking out of the corner. That’s just weird.
3. Focus on your subject.
4. Position your object so that it covers part (but not all) of the lens.
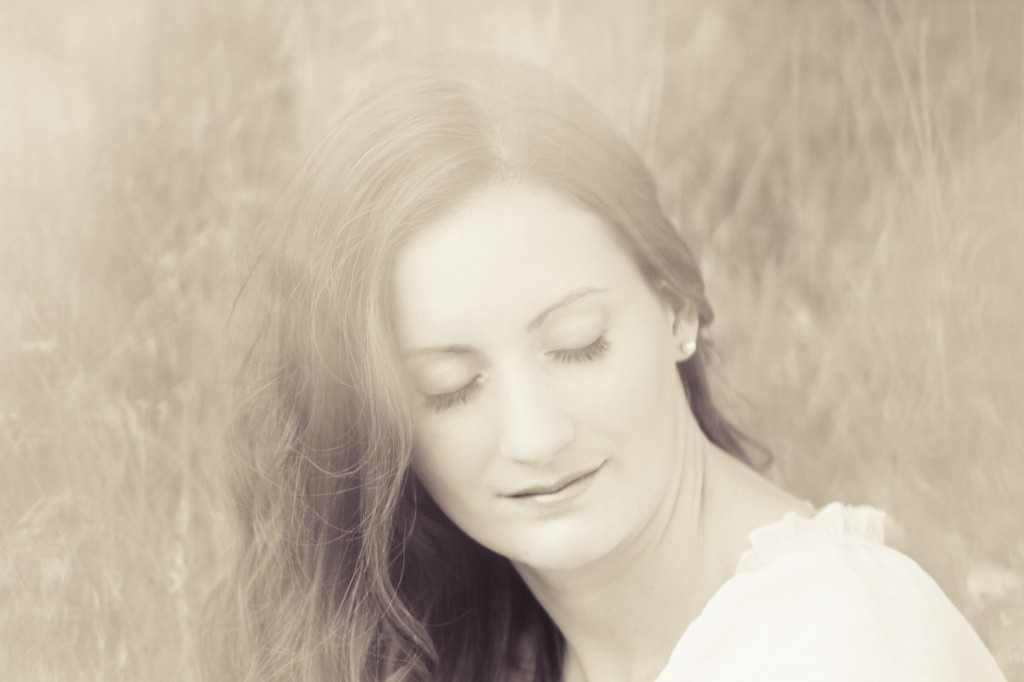
5. Take the picture and adjust as needed.
And that’s it! Pretty simple, right?